In this article, I’m going to demonstrate how to set up Google Search Console in less than 5 minutes.
The Google Search Console(GSC) is a free service provided by Google that enables website owners to access quite a lot of tools and knowledge with the aim of enhancing the efficiency of their websites in Google’s search outcomes.
There are numerous free search engine marketing instruments; however, Google Search Console, often known as GSC, is undeniably the greatest. It will probably show you how to enhance the visibility of your website in natural search outcomes. You may suppose that GSC is used to provide you with studies in regard to the clicks and impressions that individuals make on your website. That is true, but it surely makes up a really small part of the story as a whole. Utilizing the Google Search Console, you are able to do this.
Why must you use the Search Console?
You possibly can monitor, handle, and enhance your website’s natural search visibility with the usage of Search Console. Most individuals use GSC principally to see impressions and clicks.
- You can possibly add sitemaps.
- Determine the search queries that generate site visitors.
- Examine the rankings of every one of your pages.
- Determine any hacks to your website.
- Repair frequent issues, reminiscent of how properly your website works on mobile devices.
- Get immediate alerts about issues with your website, like if Google has any indexing errors.
- Examine your account for any Google penalties.
- Monitor your Core Net Vitals
How to set up a Search Console account?
Step 1: Join to Google Search Console
Go to the Google search console.
You will need a Google account to enroll. You should utilize any of your current Google accounts, like those you employ for Google Analytics, AdWords, and many others., or you may make a brand new account only for your corporation. In spite of everything, it does not cost anything.
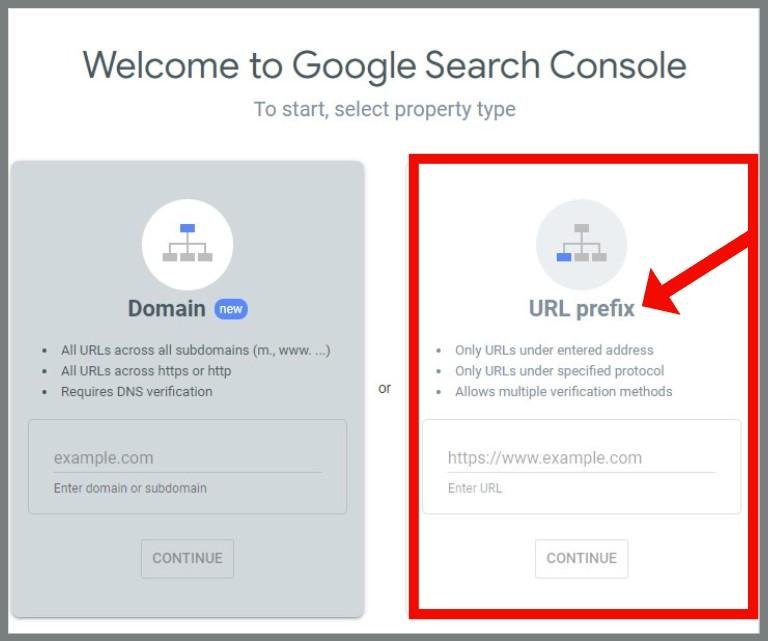
Step 2: Add a website property (or URL-Prefix)

You have now efficiently logged in to your account. It’s now time to get down to the meat of the duty. You might want to add a property (the property being the touchdown web page, software, and many others) to your firm. When including a property, chances are you’ll do it in one of two ways: either by inputting your area title or through the use of a URL prefix.
Select including property kind by Area:
Your account might be arranged as a property on the area stage. Due to this fact, it consists of your area and any subdomains linked to it, as well as the URL and URL prefix for your area.
Select the type of property you are including primarily based on its area:
After you have entered the hyperlink to your area (area.com), click on the “Proceed” button.
Select including property by “URL-prefix”:
You can possibly arrange a URL prefix property with this technique. In this case, the Google Search Console might be linked to the version of your website where you used its hyperlink. You will not get any details about different protocols or subdomains from this.
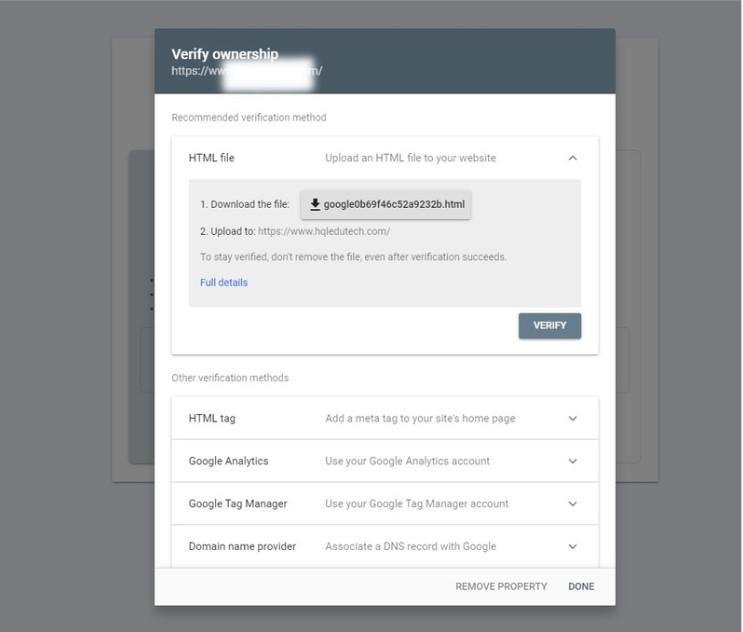
Step 3: Confirm Your Website
Your Google Search Console is now arranged and prepared to use. You only want to validate your website, after which you may start amassing knowledge. There are a number of verification strategies accessible, and everyone is decided by the selection that you have simply chosen in the stage earlier than this one. Verifying your website for a website property or a URL prefix property makes each choice accessible to you.
Checking an Area Identify’s Property
If you happen to go forward and add a property on the area stage, then there’ll be a method to validate that property on the area stage. This might be dealt with by your local title service (DNS) supplier. merely proceed with the following method:
- Look through the drop-down menu to uncover your DNS supplier (the business or the place you bought your area). If you find it, click on it. If its title is not proven, select “Any DNS service supplier.”
- Open a brand new tab and go to the position of your area registrar.
- Choose the area you need to confirm.
- Discover the selection that allows you to manage your DNS data.
If you are utilizing Hostinger,
Step 1: Go to your hostinger’s Dashboard. In case your area is just not added to the internet hosting account, go to Add Web Site Web Page.
Step 2: In case your area is already added, open the DNS Zone Editor.
Step 3: So as to add a brand new file select the kind of file as TXT.
Step 4: Select TXT as your DNS kind, write @ because of the host and go away “TTL” as it’s. Now, paste the TXT file into the sector for “TXT Worth.” Then click on ” Add Document.”
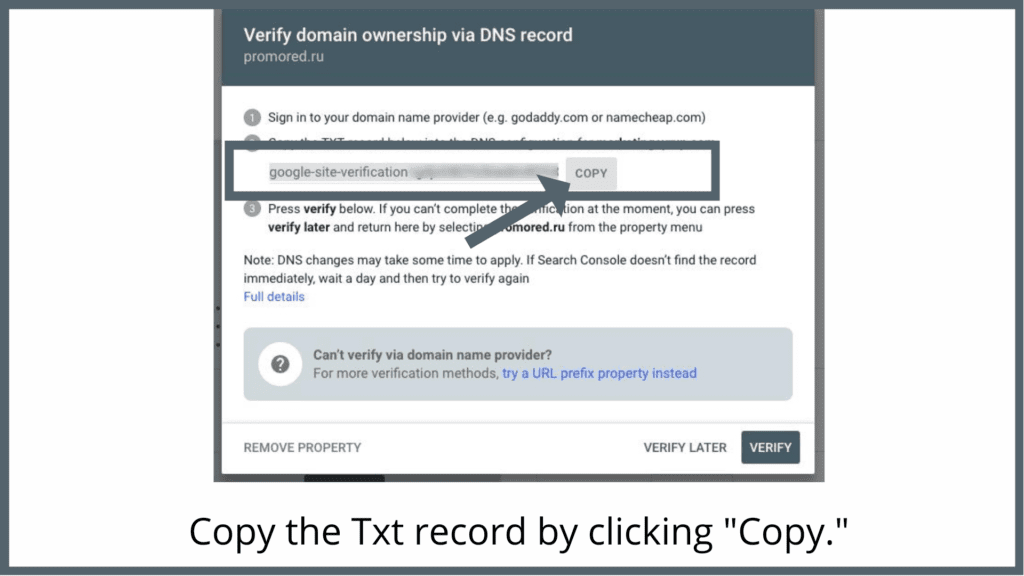

All area suppliers do just about the identical factor.
Return to organizing Google Search Console and click on “Confirm” to end.
This message ought to present:

How to Set up Google Search Console for WordPress?
Step 1: Create an account on Google Search Console, after which add a URL prefix property to your itemizing.
Step 2: Copy the Search Console Verification HTML Code.
Step 3: Log in to WordPress.
Step 4: Use the left menu to go to search engine marketing.
Step 5: Click on the tab known as “Webmaster Instruments.”
Step 6: paste the Html tag into the field labeled “Google Search console.”
Step 7: Go Again to Search Console & Click on “Confirm”

A hit notification will seem, and chances are you’ll begin utilizing this instrument along with your website.
How to submit your sitemap to Google Search Console?
To generate sitemaps, chances are you’ll make use of one of many many free programs which might be accessible online, reminiscent of Screaming Frog XML Sitemap Generator, XML-Sitemaps.com, Inspyder Sitemap Creator, Flowmapp, and plenty of extras.
Follow these steps to turn on and check the XML sitemaps if you are using the Yoast SEO plugin:
Step 1: Go to your WordPress site and log in.
You may be in your “Dashboard” after you have logged in.
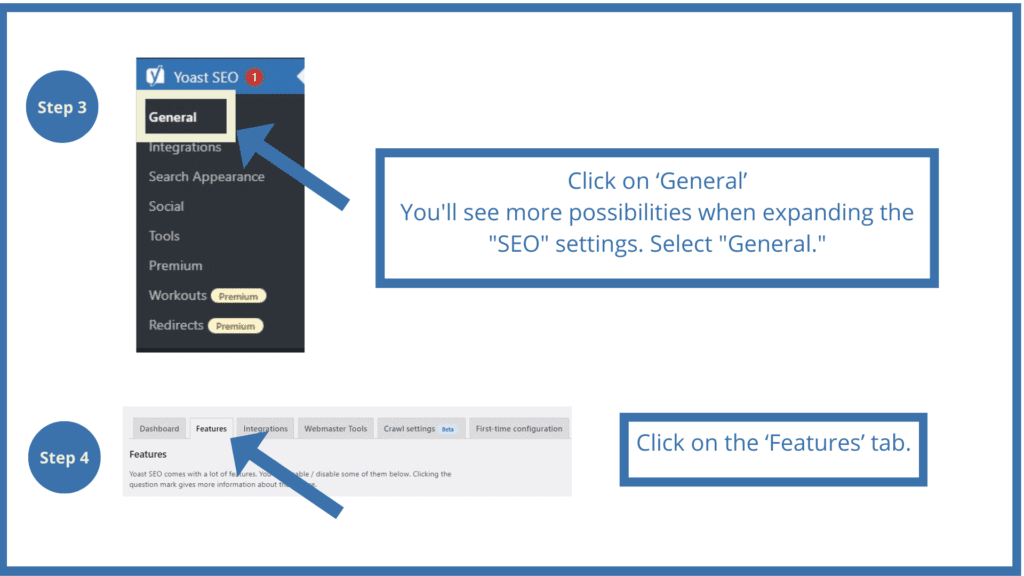
Step 2: Click on ‘search engine marketing:
You’ll see a menu on the left-hand aspect. Go to that menu and choose “search engine marketing”
Step 3: Click ‘Basic’
You’ll see extra prospects when increasing the “search engine marketing” settings. Choose “Basic.”
Step 4: Click on the ‘Options’ tab.
Step 5: Switch the “XML Sitemaps” switch and click “Save Changes” at the bottom of the screen.
To allow the feature, turn the switch to “On.”
To turn off the feature, move the switch to the “Off” position.
Step 6: Click on the query mark subsequent to the XML sitemaps operating to view the sitemap.
Click on the link that says “See the XML sitemap.”

Now, we are able to Submit a sitemap to Google Search Console:
Step 1: Go to Google Search Console
Step 2: Within the sidebar, choose your website.
Step 3: Click on ‘Sitemaps’.
Step 4: Enter ‘sitemap_index.xml’ within the ‘Add a brand new sitemap’ discipline to fill in the sitemap URL.
Step 5: Click on Submit.

How to Study your account for any Google penalties?
An internet site could get a Google penalty if the content of the position is discovered to be in violation of the advertising and marketing practices that Google has mandated for all websites. This penalty could happen as a consequence of an improvement to Google’s rating algorithm or a human evaluation that reveals an internet site or webpage utilized “black hat” search engine marketing practices. Each of those eventualities has the potential to result in an identical end result.
There are two totally different approaches chances are you’ll use to decide whether or not or not Google has punished your website. The primary means is by way of the Google Search Console, and the second is by your Google Analytics site visitors logs and evaluating your site visitors with the dates the Google improvement occurred. Each of those strategies could be discovered right here.
Step 1: Log in to Google Search Console
If you have not already, now’s the time to add your website to the Google Search Console.
That is situated within the SECURITY & MANUAL ACTIONS
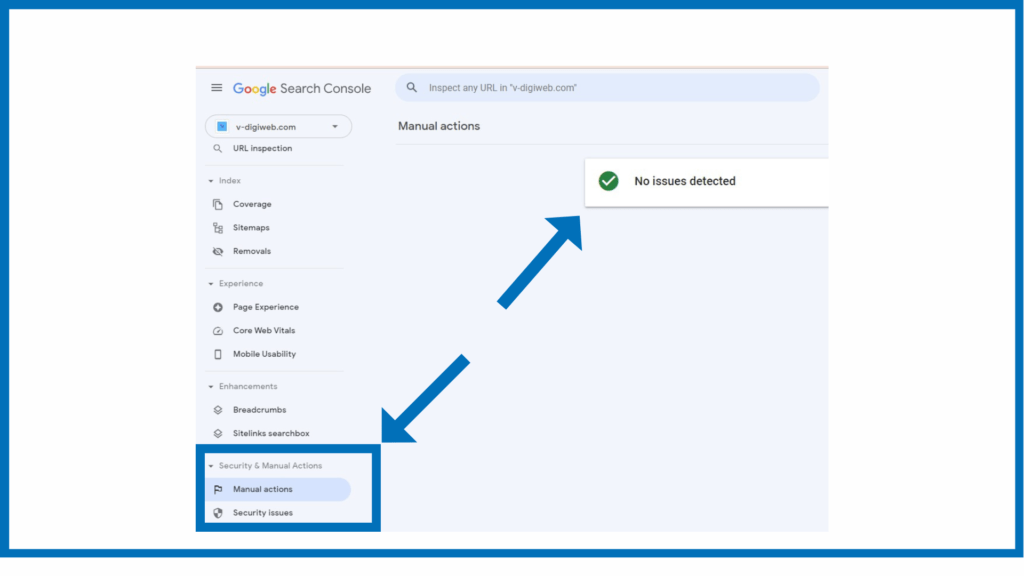
If you happen to see the message “No points detected,” then you’re clear and you do not want to take any additional actions. Nonetheless, you continue to want to proceed with the steps to discover those who have been impacted by an algorithmic penalty. If you happen to see the message “No points detected,” then you’re clear and you do not want to take any additional actions.
On the occasion that your website acquires a handbook penalty, you’re required to rigorously learn the message that explains the reasons for the penalty and make an effort to repair the problem, after which ask for an evaluation of your website.
Step 2: Check into Google Analytics to see how a lot of site visitors you get from Google
Select your website from the Google Analytics dashboard, then go to Studies > Acquisition > Visitors Acquisition.
Within the report, now you can see what number of visits come from Google searches.

Look within the search engine marketing report (MOZ, SEMrush, Ubersuggest, or any) to decide what kind of replacement it was for those who see a dramatic discount in site visitors on a day (or close to the dates when a replacement was issued), after which begin studying about what chances are you’ll do to recuperate.
How to enter Search Console Insights?
Search Console Insights is an alternate and improved possibility to look at the natural knowledge related to your website. The content material producers and publishers are the platform’s main targets due to the platform’s specialized design.
To be extra express, Insights combines the knowledge that may be seen in Search Console and Google Analytics right into a single report. This snapshot gives info on developments, efficiency, and consumer habits in relation to your pages.
Google Search Console Insights is straightforward to use for the primary time. It may be arranged in numerous methods.

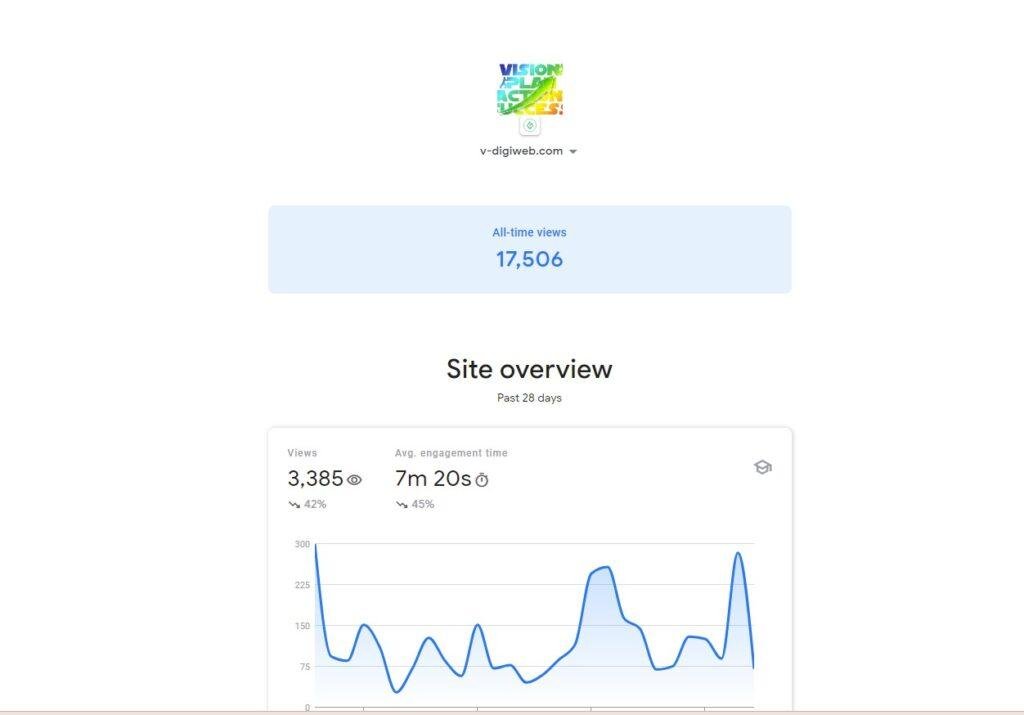
The dashboard for Search Console Insights is straightforward to use. It reveals knowledge in a transparent, easy-to-understand means that makes it straightforward to discover essential info without having to filter for it or have a level in search engine marketing analytics.
Conclusion:
Google’s Search Console is a tool that will help website homeowners in gaining a greater understanding of how their websites are doing on Google Search and the steps they will take to improve their websites’ visibility in search ends in order to entice extra focused guests to their web sites.
In case you have any questions in any respect about beginning a weblog or website, and about sources and techniques for enhancing your technical search engine marketing, please don’t hesitate to contact us